Saturday, September 29, 2012

Blogiversary


Hello, dear friends, we have such big news for you today!!  This is our last post on the blogspot blog because today we launched out BRAND-NEW-REDESIGNED-WE-HAVE-OUR-OWN-DOMAIN-NAME-BLOG!!! From here on out (or as soon as we finish the migration), all traffic from our blogspot blog will be forwarded to http://thespatularettes.com.  Click on over to check it out and let us know what you think!  We are so excited!! Seriously, we can't contain ourselves!!  Apologies for all the exclamation points... We just can't help ourselves.  We’re that excited!!!!!

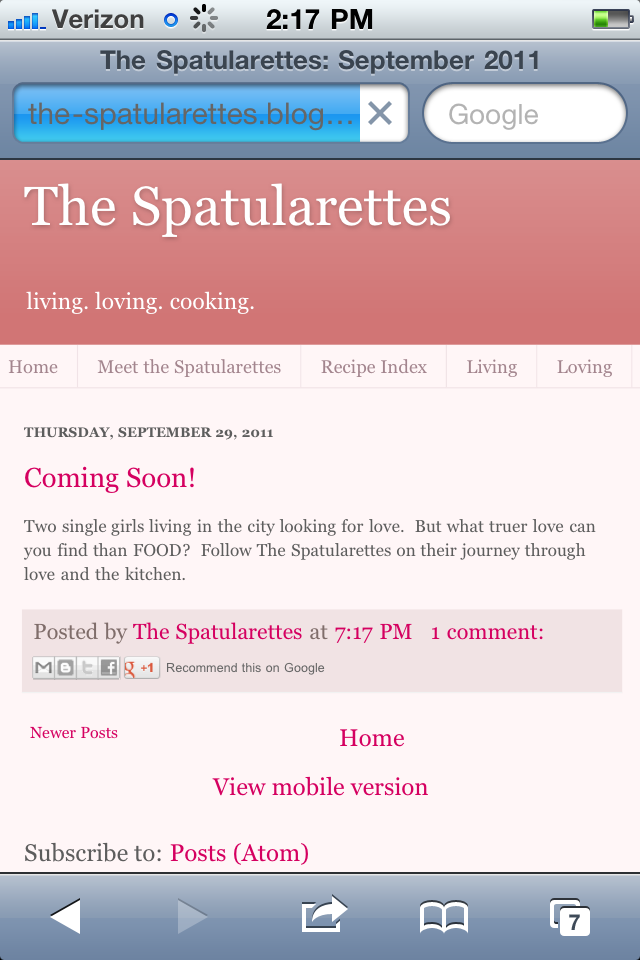
Today, dear friends, is also our blogiversary.  What better day to launch out newly designed site than on the 1 year anniversary of the day we decided to start this crazy project!  On September 29th 2011, we posted this...

We really had no idea what that meant or where this blog was going to take us, but that's exactly where it all began.  Blogging has been such a fun adventure thus far, and we can't wait to see what the next year will hold for The Spatularettes!
Before we get to today's receipe want to take a moment to say a huge thank you to all of you who have been following us for the past year.  We cannot tell you how much your positive feedback has meant to us or the way we puff up with pride a little bit every time someone tells us they tried one of our recipes.  We love food.  We love blogging.  And we love you for following our food blog!
Now we want to take a moment to say an even bigger thank you for following us through the past year despite our often times subpar photography, not-so-user-friendly format, our lack of style, direction and all around disorganization.  Before we actually launched The Spatularettes, we thought, oh hey blogging looks fun and easy let's give it a try!  Well we were right... it is fun.  But we were also wrong... because it's not easy.  Honestly, we had no idea what we were getting ourselves into and have spent the last year floundering around trying to figure it all out!


[On a side note: the description of our blogging experience thus far sounds like a pretty good metaphor for the last year of our lives. (if you were 25 years old once, you'll know exactly what I'm talking about--hello quarter life crisis!!)]

So as we try and create some structure, direction, and focus in our lives, we’ll be doing the same thing with our blog.  We've upgraded the formatting and are working on upgrading the photography (who knew snapping pictures of food would be so hard!?).  We've kept our focus on the food this past year, but it is time to start giving you more insight into to what it actually means to be a spatularette.
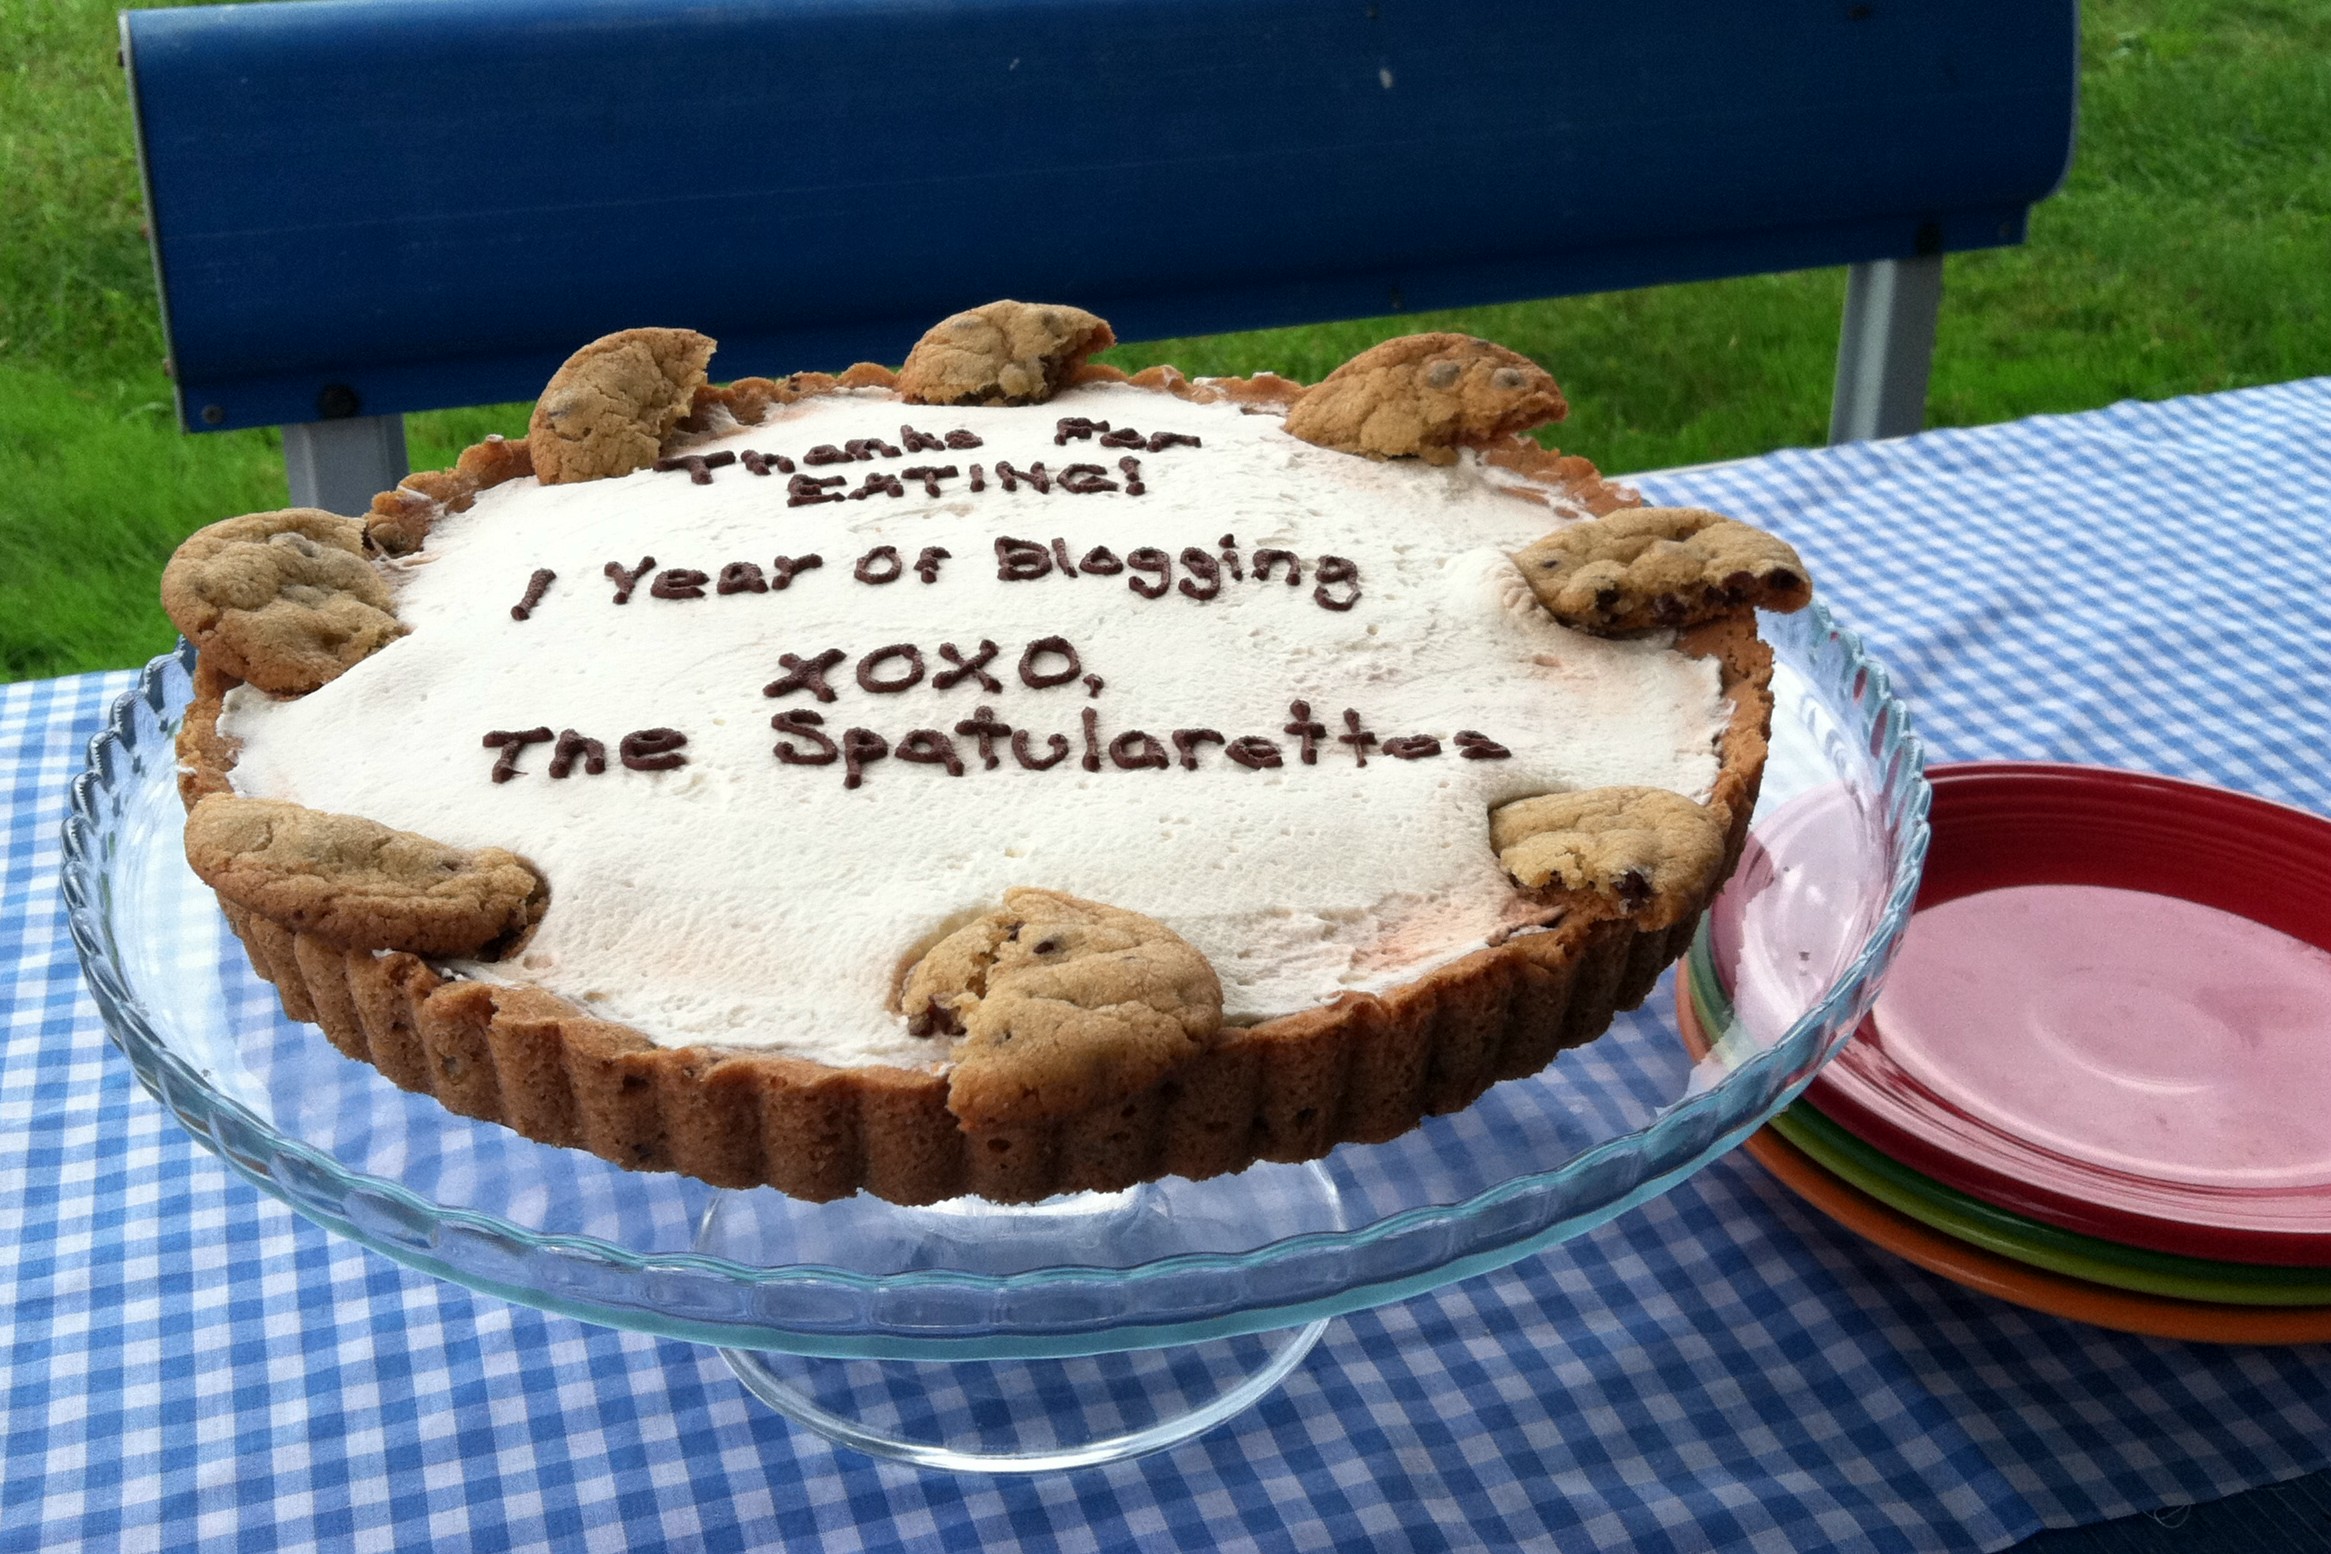
Enough about the new features though.  You can check back all week to get a better feel for what's coming down the pike.  For now... let's celebrate!  It's cake time!

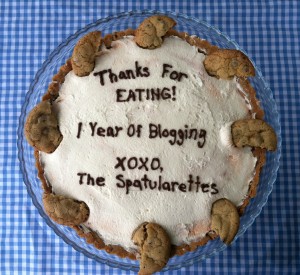
Actually, it's tart time.  Chocolate Chocolate Chip Cookie Tart time to be exact.
Cake time just had a nicer ring to it.  And was less of a mouth full than Chocolate Chocolate Chip Cookie Tart.  But to be honest, you're going to want a mouth full of today's recipe.


INGREDIENTS:
  • 1 stick butter, at room temperature
  • 1/2 cup granulated sugar
  • 3/4 cup brown sugar
  • 1 egg
  • 1 tsp vanilla
  • 1/2 tsp baking soda
  • 1/2 tsp baking powser
  • 1 1/2 cups flour
  • 1/2 cup mini chocolate chips
  • 1 3.9 oz package instant chocoalte pudding
  • 1 1/2 cups cold milk
  • Whipped cream or whipped topping
SPECIAL EQUIPMENT:
  • Tart Pan
*This would probably work in a pie pan, although I haven’t tried it.  I would just recommend greasing a pie pan well since it doesn’t pop apart the way a tart pan does.


Preheat the oven to 350 degrees and grease the inside of a tart pan.
In the bowl of a stand mixer, cream the butter and both sugars until light and fluffy.  Mix in the egg, vanilla, baking soad, and baking powder.  Next, mix in the flour, one half cup at a time, scraping down the sides of the bowl after each addition.  Once the dough is well combined, fold in the mini chocolate  chips with a spatula.

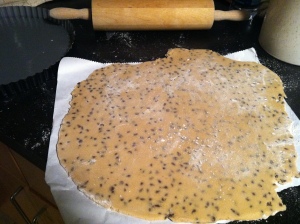
To avoid sticking, generously flour a piece of parchment paper or waxed paper.  Dump all of the dough onto the floured surface and roll to a 1/8 inch thickness with a rolling pin.  The chocolate chips acutally create a pretty good measure for the ideal thickness of the dough.  Add more flour while rolling if needed.  Once the dough has been rolled, slide your hand under the parchment paper and flip the whole thing into the prepared tart pan.  Peel away the parchment paper and use your fingers to press the dough into the bottom and sides of the pan, patching up any tears as you go.  Pull the exccess dough off of the pan, and use your finger to create a smooth edge along the top.  Roll the excess dough into small ball and place on a cookie sheet to make mini cookies.  I usually end up with enough dough for about a dozen minis.

Bake the "crust" and the cookies for 12-15 minutes or until golden brown.  Keep an eye on the crust as it bakes.  If it's really puffy in the center after about ten minutes, reach into the oven with an oven mit and gently press down on the center to release the extra air.  It will return to looking like a crust again.  Once finished baking, place the crust and the cookies on a wire rack to cool.  After the tart has cooled for about 20 minutes, gently slide a think knife down into the edges of the pan to make sure the crust isn't sticking.  When it has cooled completly pop the crust ot of the tart pan.


While the crust is cooling, prepare the filling.  Mix the packet of instant pudding with 1 1/2 cups of cold milk and whisk vigerously for 2 minutes.  Let the filling chill in the refrigerator for one hour before pouring it into the prepared cookie crust.  Top the pie with whipped cream or whipped topping.  The first time I made it I used an 8 oz container of Cool Whip.  The second time I made homemade whipped cream with 6 oz of heavy cream and 2 Tbs of granulated sugar.  Both were delicious!


The Inspiration:
As if an anniversary and a redesign weren't enough excitement for one week, we just caught wind that ABC's The Bachelor has begun filming their umteenth season, featuring one of our ALL TIME FAVORITE BACHELORS!!!  So as Sean continues his quest to find love on national television, we continue our quest to find and share the best recipes on the web.


And yes Sean, we will gladly accept your rose.  Will you accept our recipe?

HAPPY BLOGIVERSARY!!

XOXO,
Tall and Small
Friday, September 28, 2012

Power Foods Friday - Wheatberry Salad


Marathon training is in full swing for The Spatularettes!  My big race is only 4 weeks away while we have 7 weeks of training left before the Philly Marathon (half marathon for Small One).  That puts us smack dab in the middle of our training programs, facing some of our highest weeks of mileage.  That also puts us in serious need of some serious power food!

You might remember the Greek Wheat Berry Salad that we posted a couple of months ago.  We told you about some of the great benefits of wheat berries which still hold true today.  With the knowledge we have about one of nature's best power foods, we decided another wheat berry salad was just what we needed to tackle a tough week of training!

INGREDIENTS:

Salad:
-1 cup dry wheatberries, rinsed
-15 oz can mandarin oranges in light syrup, drained with juices reserved
-1/2 cup dried cranberries
-1/4 cup chopped flat leaf parsley
-1/4 cup choppped mint leaves
-6 scallions chopped (white and light green parts)

Dressing:
-1/2 cup olive oil
-reserved mandarin orange juices
-zest of 1 lemon
-juice of 1 lemon


Prepare 1 cup of dry, rinsed wheat berries according to package instructions.  They will take about an hour to cook and need to cool, so it will give you plenty of time to get the rest of the ingredients together.

Once the wheatberries have cooled, combine all salad ingredients in a large bowl and gently toss.  We halved the mandarin oranges, but they would be fine whole as well.

In a small bowl, whisk together all of the dressing ingredients.  Pour desired amount of dressing over salad and toss to evenly coat.  We used about 3/4 cup for this amount of salad, but the leftover dressing would  be great over greens as well!


Keep on powering through!!

XOXO,
Tall One

Thursday, September 27, 2012

Southern Comfort Punch


Hey friends, it's THIRSTY THURSDAY!!! Woooooo!  Time to get crazy!

Actually no.  This week my "wild" Thursday consisted of work, a bike ride, a run, and some baking.  Oh, and eating leftovers for dinner.  Real crazy.  I know.

But if you are ready to get your weekend poppin, I know just what you need!  We made this Southern Comfort Punch at our party last weekend and it was a big hit!

The funny thing about this recipe is that it actually comes from my grandma Mimi.  The funny thing about all of my alcoholic punch recipes, is that they come from my grandma Mimi.  It makes her sound like such a lush--but totally not the case!  She just likes her glass of boxed wine before bed every night :)

I'm actually told quite frequently by family that I'm a clone of my grandmother.  When her brother was still alive, he insisted that I looked just like her as a kid.  She and I both firmly believe that "idle hands are the devil's handiwork" (yep, Mimi loves that one) and therefore are constantly on the go.  Even in her 80's, Mimi was volunteering at the free clinic in my home town, driving friends to and from doctor's appointments, preparing meals for shut-ins, and tagging along with my parents to cheer for me at cross country meets ("Go Meggie!!").  She is super awesome in every way and it's an absolute compliment to hear the comparison.


Oh and one more thing, apparently we both love throwing parties.  I remember as a kid my grandparents hosting "card club" which I'm pretty sure was just an excuse for all their friends to come over to drink and enjoy good food.  (yep, that definitely runs in the family!)  I'm also pretty sure this punch recipe made a number of appearances at "card club" over the years.  If it was good enough for Mimi's friends, then it's good enough for my friends.  And if it was good enough for Mimi, then it is definitely good enough for you!

INGREDIENTS:
-1 750 mL bottle Southern Comfort
-4 frozen lemonade concentrates, thawed
-2 frozen orange juice concertrates, thawed
-1 1/2 cup lemon juice
-1 2 liter bottle of Sprite (or other lemon-lime pop)

**Yes I say POP, not SODA.  I'm from western PA and that's how we roll.

Combine all ingredients in a punch bowl and serve chilled.  Seriously easy.  Seriously delicious.


Some southern comfort, from my kitchen to yours :)

XOXO,
Tall One

Tuesday, September 25, 2012

Hummus Bites

I have a confession to make: I’m a terrible dancer.
Actually, that’s not the confession.  That part is common knowledge.  Spend 2 minutes with me on the dance floor and you will know it to be true.
The confession is that, unfortunately, on Saturday nights I often believe myself to be a good dancer.
Then on Sunday morning I am immediately snapped back to reality when I recall that I am, in fact, not Beyonce, but just a tall, awkward, lanky white girl.  A TALWG (tall, awkward, lanky, white girl) with absolutely no moves. 
I guess there is a reason they keep those places so dimly lit, and at least I have enough sense to grab my friends and high tail it home as soon as the lights come on at the end of the night.
And at least my skills in the kitchen are a tad bit more polished than my skills on dance floor.  We can’t win ‘em all, now can we?
My roommate and I hosted a little get-together at our apartment this past weekend, which eventually led to the aforementioned late night of dancing.  We like our guests to stay nourished and well hydrated so we purchased a Yards Variety Pack, made one of my grandma’s famous punch recipes, and threw together some tasty snacks.  We both had a busy week, so neither of us had a lot of time to spend in the kitchen prepping for the party, which is how I came up with the idea for these easy-to-assemble Hummus Bites.  Ali at Gimme Some Oven (one of our favorite food blogs!) is always making quick party snacks in baked wonton wrappers and I’ve made a number of her recipes for previous shindigs.  I decided to start with her idea and combine it with some of my favorite flavors.  These Hummus Bites take only minutes to assemble, are pretty dang healthy (although at a party, who really cares about that), and will dissappear in no time!

INGREDIENTS:
-1 package wonton wrappers (contains about 48)
-16 oz premade hummus (or homemade if you have time)
-8 oz container of feta cheese
-24 Grape tomatoes, halved
Preheat the oven to 350 degrees.  Spray mini muffin tins with cooking spray and gently press individual wonton wrappers into each prepared cup.  The wrappers will crisp up in the oven, so make sure they aren’t touching each other and are positioned exactly as you want them.  Bake the wrappers for 10 minutes or until crispy and golden brown.  Remove them from the oven and allow to cool completely.  This can be done up to a couple of hours in advance.
When you are ready to assemble your snack, simply scoop a teaspoon of hummus into each prepared cup, and top it with a half teaspoon of feta cheese and a grape tomato half.  For real.  These Hummus Bites are just so ridiculously easy to make.  They take about 15 minutes of your time and your guests will gobble them right up!  If by chance you have any leftovers, Hummus Bites also make for the perfect after work snack once Monday rolls around.   

Hummus Bites are the perfect snack... pre or post dance party!

XOXO,
Tall One

Saturday, September 22, 2012

Pumpkin Spice Latte Cupcakes


Happy Autumnal Equinox, my friends!  That's right, today is the first official day of fall!  Usually I face the change of the season kicking and screaming, refusing to let go of another summer.  Most years you'll catch me wearing flip flops, white skirts, and cut off shorts for a borderline inappropriate number of days past labor day.  This year has been different though.  I've been craving change in my life.  I can't explain exactly what I'm looking for, but I've been feeling a little complacent as of late, and have been embracing anything even remotely different that comes my way.  So this year I've found myself welcoming autumn with open arms!  

I'm already a few classes into the fall semester of grad school (I'm taking Financial Management this semester so don't be surprised if you hear me complain a time or two). I've restocked my closet with new leggings, cozy flannels, and some super cute boots.  The days have gotten shorter, so many times the sun is just beginning to rise as I leave for work, and my next marathon is literally just around the corner.  As much as these things signal the change of the season, nothing says "fall is here" quite like Starbucks' annual release of the pumpkin spice latte!!  The warm, sweet, spicy, drink is a favorite with many, myself included!  This year, after I had my first latte of the season, I just knew I had to take it one step further.  The Pumpkin Spice Latte Cupcake.  Brilliant.  And so began my mad scientist experimentation in the kitchen to find the perfect blend of coffee, spice, pumpkin, and cream.  After a few trial runs, I really think I nailed it!  The recipe is a blend of Annie's Eats Vanilla Latte Cupcakes and my mom's famous Amish Pumpkin Bread.  I brought these little guys to work on Thursday and they had disappeared by lunch time.  Seriously, you need to make these cupcakes this weekend.  You will. not. regret. it.  (and neither will your friends or family!)


INGREDIENTS:
-3/4 cup butter, at room temperature
-1 1/2 cups sugar
-2 eggs
-2 cups flour
-1 tsp baking powder
-1/4 tsp baking soda
-1/4 tsp salt
-2 Tbs expresso powder
-1 tsp pumpkin pie spice (+ more for sprinkling)
-1 cup strong brewed coffee
-2/3 cup pumpkin puree

-1 cup heavy cream
-3 Tbs powdered  sugar


Preheat oven to 350 degrees.  Line 20 cupcake tins with paper liners.  Yes this recipe makes exactly 20 cupcakes.  Not a dozen and a half.  Not 2 dozen.  I tried to stretch it into 24 cupcakes and failed miserably.

In the bowl of a stand mixer, beat one and a half sticks of butter until light and fluffy.  Add the sugar and continue to beat for another minute.  Add the 2 eggs and mix until well combined.

In a separate bowl, sift together the flour, baking powder, baking soda, salt, expresso powder, and pumpkin pie spice.  Expresso powder can be difficult to find at a normal supermarket, so you will probably have to purchase it at a specialty food store.  I found mine at William and Sonoma.  It's a little pricey, but totally worth it!

In a different bowl, whisk together the pumpkin puree (2/3 a cup is about half of a 15 oz can) and brewed coffee until smooth.

Alternate mixing the dry and wet ingredients into the butter/sugar mixture, scraping down the sides of the bowl after each addition, Once all of the ingredients have been added, mix everything together thoroughly, but just until combined.

Divide the batter between the prepared cupcake tins.  Bake in a 350 degree oven for about 18 minutes or until a toothpick comes out clean.  Let the cupcakes cool completely.  I can never resist and always eat one warm, but I'm going to be honest, I like them way better cooled!  I think it gives a chance for all of the flavors to settle together.

Once the cupcakes have cooled, prepare the whipped cream topping.  In the bowl of a stand mixer fit with the whisk attachment, pour 1 cup of cold heavy cream and 3 Tbs of powdered sugar.  Mix on low speed until the sugar has been incorporated into the cream, then crank the speed up to high and whip until very stiff peaks form.  Load the whipped cream into a frosting bag fit with a large tip and pipe it on to each of the cupcakes.  Typically when making whipped cream I use granulated sugar as opposed to powdered sugar.  I find the powdered sugar to work better though, when you plan to pipe the whipped cream.  It gives it a little more structure and helps the cream stand up like a very light buttercream.  Once all of the cupcakes have been frosted, sprinkle each one with a little more pumpkin pie spice.  I garnished each of my cakes with a signature Starbucks green straw since I was doing a spin off of their most popular fall drink.


A latte and a cupcake?  Truly the world's most beautiful combination!

XOXO,
Tall One

Thursday, September 20, 2012

Power Foods Friday- Hearty Fall Stuffed Peppers


Hey bloggers! I'm so excited to be back posting with the Spatularettes! I've been such a fan of Meghan and Laura's work in the blog-a-sphere that I decided to get back into my own blog, PaceOfMind

This post I wanted to try something for Power Food Fridays that went along with the change in seasons. Fall is defiently invading Lewisburg... I know this because of the following: 1) the local Freeze closes for the winter next week 2) all my air conditioners are off and the blankets are out 3) farmers are seen picking baby pumpkins and leaving them on the side of the road, free for the taking 4) seasonal produce are shifting gears 5) long sleeve tees are becoming more and more vital during morning runs. All of these things have resulted in me searching for heartier meals like vegetarian chili and stews to keep me satisfied. But my favorite of all is stuffed bell peppers. They are hearty, give me my daily boost of protein and look yummy!

I stopped off at the Lewisburg Farmer's Market this Wednesday. My haul from the market was awesome this week! I picked up some organic, grass fed ground turkey, local green bell peppers and assorted mushrooms. Add that to some gravy (yes, I'm from NJ so I call my marinara sauce gravy) with minced garlic, red onion and pepper flakes and you have yourself a "Hello Fall" Power Foods Friday!

Ingredients:
1 green bell pepper
4 oz ground turkey (use organic, grass fed when possible)
1/2 cup sliced mushrooms
1/2 cup marinara sauce
1/4 red onion
1/2 jaleneno
1 tablespoon minced garlic
1 tablespoon red pepper flakes
sprinkle of mozzerela cheese
1 teaspoon of extra virgin olive oil (optional)

I'm a multi-tasker, so while I'm prepping my food I like to get the oven cookin'. Preheat your oven to 375 degrees and line a baking dish with some tin foil. Set aside. In a saucepan, on medium heat, spritz a few sprays of cooking spray (olive oil brand) for a minute. Dice your red onion and garlic and add to the pan. Sautee until soft. Add your turkey and cook until slightly brown. 
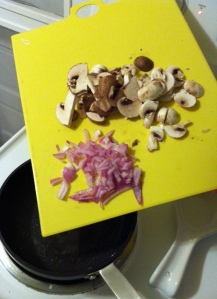
This is where I like to add my mushrooms... this way the mushrooms cook along with the browning of your meat. Season with your pepper flakes and add the marinara sauce. Lower heat and let simmer for 10 minutes, stirring occationally.

While you let the meat and sauce simmer, core your green pepper, removing the top stem and the seeds inside. Your meat should be browned and full of flavor from simmering in the sauce... take your cored pepper and fill with meat. Set your stuffed pepper on the baking tin and bake at 375 for 15 minutes- Note: I like my pepper to be crispier, so I often remove after 10 minutes. Keep checking back to test how firm you like your pepper. Remove your pepper, dust the top with shedded mozzarella and heat again until the cheese is melted.

What you end up with is the perfect meal to sit with on a cool fall evening with the windows open. Enjoy!

Pam xo

Wednesday, September 19, 2012

Super Low-Cal Homemade Ranch Dressing


When I first started cooking for myself, I discovered that I really enjoyed making things from scratch.  I liked the challenge of creating something fantastic out of basically nothing.  The magic of taking raw ingredients and putting them together to make something totally different fascinated me.  (can you say food nerd!?!)  Also, when I first started cooking, I was fresh out of college and living on a very tight budget.  Whipping things up from scratch with ingredients I already had on hand turned out to be the most affordable way for me to prepare a meal.  As I've continued to improve in the kitchen and immersed myself in the world of food blogs, I've discovered another awesome (and possibly the coolest) benefit of going homemade: no artificial preservatives, flavors, or colors!  Just all natural good-for-the-bod ingredients.  Sure, I still eat packaged foods for convenience, just like everyone else does, but it is nice to replace those items with something homemade when possible.

Recently I picked up the bottle of fat free ranch dressing I had in the refrigerator.  As I read the ingredients, I started to wonder if the calories saved by eating fat free dressing really outweighed some of the artificial ingredients in the bottle.  Do you know what maltodextrin, modified food starch, or disodium phosphate are?  Ok, me either.  I don't claim to be an expert on the matter, and I'm sure those things are fine to eat (believe me, I'm not done with Hidden Valley just yet!).  But... when it comes down to it, next time I'm preparing a healthy salad, I'd rather top it with a dressing made from a few good ingredients that I know as opposed to a laundry list of fillers I've never heard of.  Best of all this dressing takes about 2 minutes to make and is still low in fat and calories!


INGREDIENTS:
-1 cup of low fat buttermilk
-1/2 cup light mayonnaise
-1 1/2 tsp onion powder
-1 1/2 tsp garlic powder
-1 1/2 tsp dried dill

In a medium bowl whisk together the buttermilk and the mayo until nice and smooth.  Add the onion powder, garlic powder, and dill.  Continue whisking until well combined.  Pour the dressing into an airtight container and store in the refrigerator.  Since homemade ranch isn't loaded down with preservatives like the bottled kind is, the shelf life will be a little shorter, so try and use it up within a couple of weeks.


It's time to start feeling good about the food we eat!

XOXO,
Tall One